Small measuring mistakes can change texture, flavor, and rise. A cake turns heavy, cookies spread too much, or bread comes out tough, all because one ingredient was off.
Cooking often lets you adjust as you go. Baking usually doesn’t. The good news is that measuring ingredients correctly gets much easier once you know which tool to use and how recipes expect ingredients to be measured.
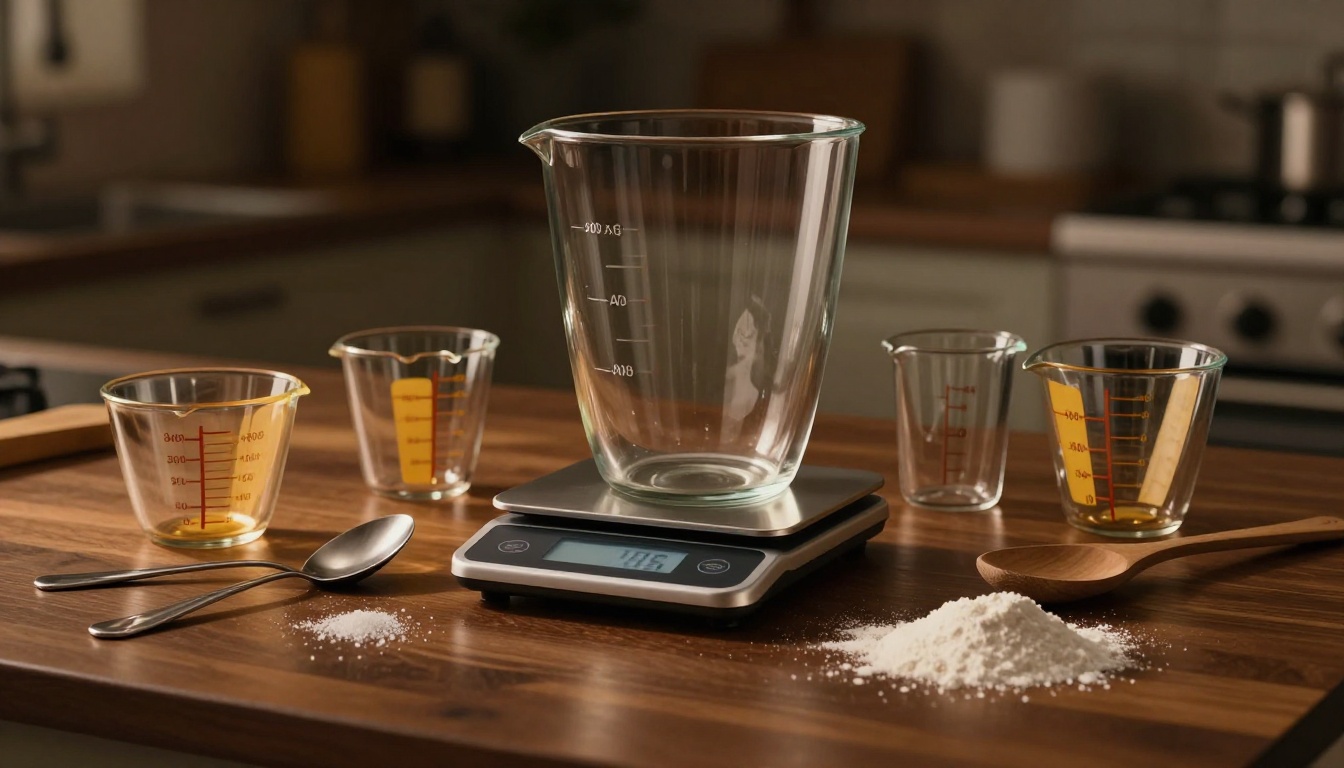
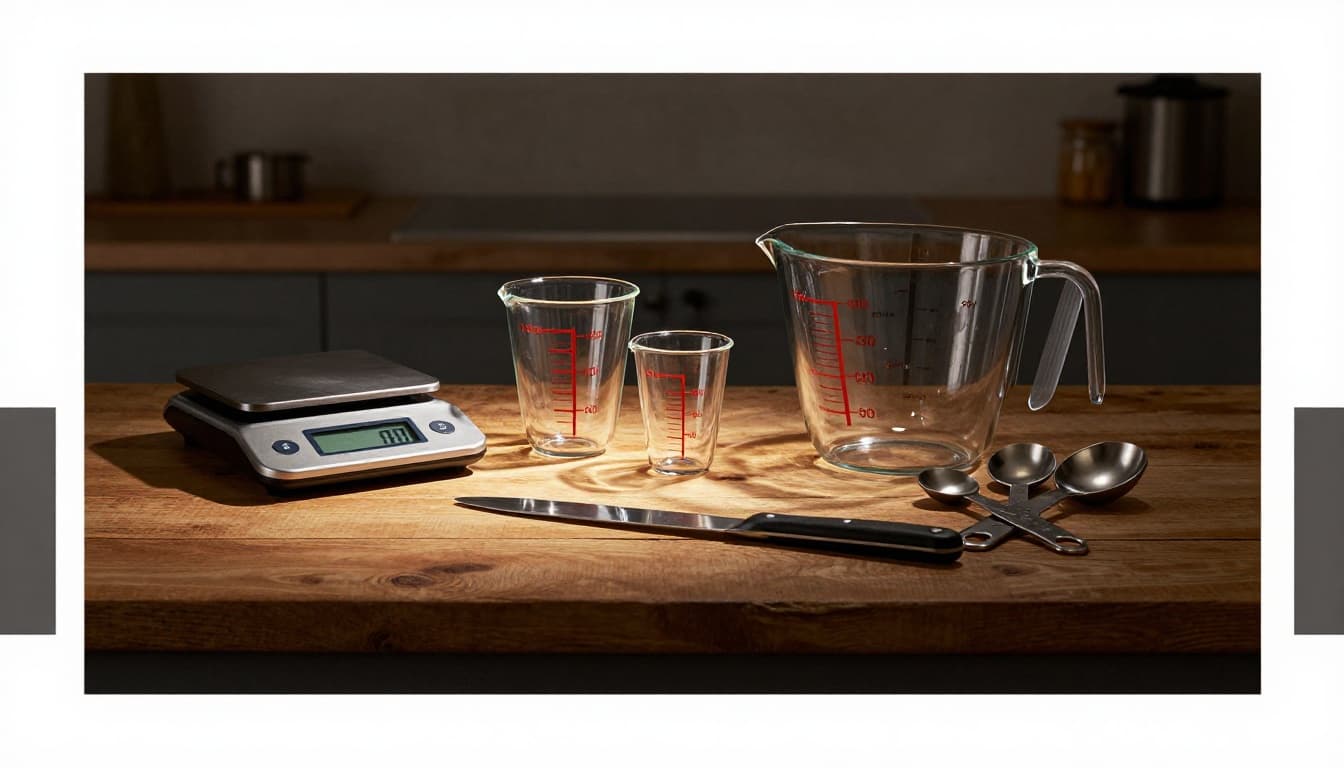
Start with the right measuring tools
A good setup is simple: a digital kitchen scale, dry measuring cups, a liquid measuring cup, measuring spoons, and a straight edge for leveling. Each tool has one job, and results improve fast when you stop swapping them around.
A scale is the most exact option because grams don’t change based on how you scoop. If you’re shopping for one, these tested kitchen scale picks show what matters, such as accuracy, readable displays, and easy taring. Taring means setting the scale back to zero after placing your bowl on it, so you measure only the ingredient.
When a kitchen scale is better than cups and spoons
Weight stays the same every time. Volume doesn’t. Flour can look fluffy one day and packed the next. Honey can cling to the cup. Even cup shape can change how full it gets.
That’s why scales help so much with baking. One cup of all-purpose flour is often about 120 to 125 grams in US recipes. Granulated sugar is about 200 grams per cup. Packed brown sugar often lands between 180 and 220 grams, depending on how firmly it’s packed.
If a recipe lists grams, use them.
How to tell dry measuring cups from liquid measuring cups
Dry measuring cups have flat tops. You fill them to the rim, then level them. Liquid measuring cups are usually clear, with a handle and spout, plus space above the line so liquid doesn’t spill.
Swap them, and things get messy fast. Dry ingredients are harder to level in a liquid cup. Liquids are easier to overpour in a dry cup.
Measure dry ingredients the way recipes expect
Dry ingredients aren’t all measured the same way. Flour, cocoa powder, powdered sugar, salt, baking powder, and baking soda need care because a little extra can change the whole batch.
For most light powders, don’t scoop straight from the bag. That packs the cup and adds too much. Then your cake turns dense, muffins dry out, or bread gets chewy in the wrong way.
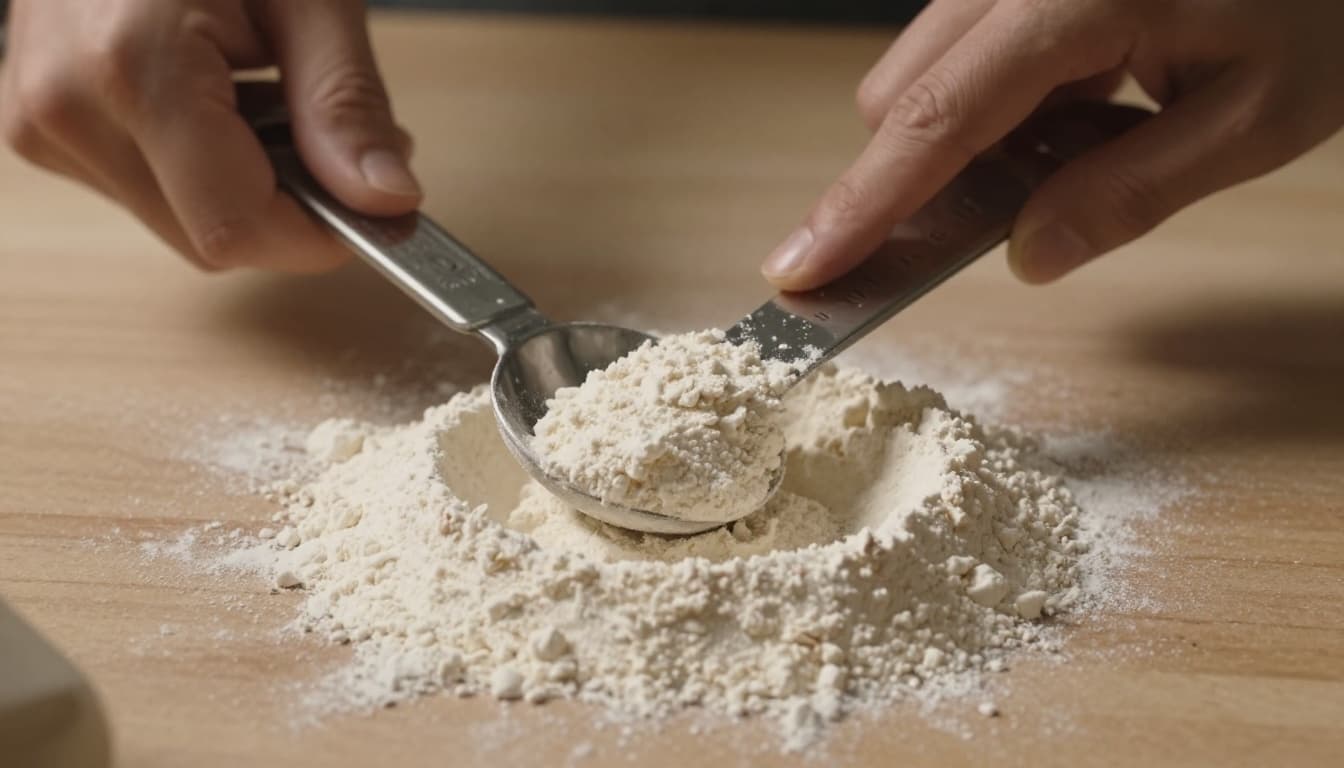
Use the spoon and level method for flour and other light powders
First, fluff the flour if it has settled. Next, spoon it lightly into the dry measuring cup. Then level the top with a knife or small spatula. Don’t shake the cup, and don’t tap it on the counter.
This simple move makes a real difference. Many bakers rely on the spoon and level method because scooping straight from the bag can add 15 to 20 percent more flour.
If the recipe gives a weight, follow that number instead of a general chart. Recipe writers don’t always use the same cup weights, so the printed grams win.
Know which dry ingredients should be packed and which should not
Brown sugar is the big exception. Press it firmly into the cup until there are no air gaps, then level it. When you dump it out, it should hold the shape of the cup.
White sugar is different. You usually pour or scoop it in, then level it. No packing. Small ingredients like baking soda, baking powder, and salt also need flat, exact measurements because too much can leave bitter flavors or a weak rise.
Measure liquids and sticky ingredients without guessing
Liquids need their own method. Put the liquid measuring cup on a flat counter, pour slowly, and check the line at eye level. Looking from above almost always leads to overfilling.
Read liquid measurements at eye level for better accuracy
The curve at the top of a liquid is called the meniscus. For water, milk, and oil, read the bottom of that curve, not the top.
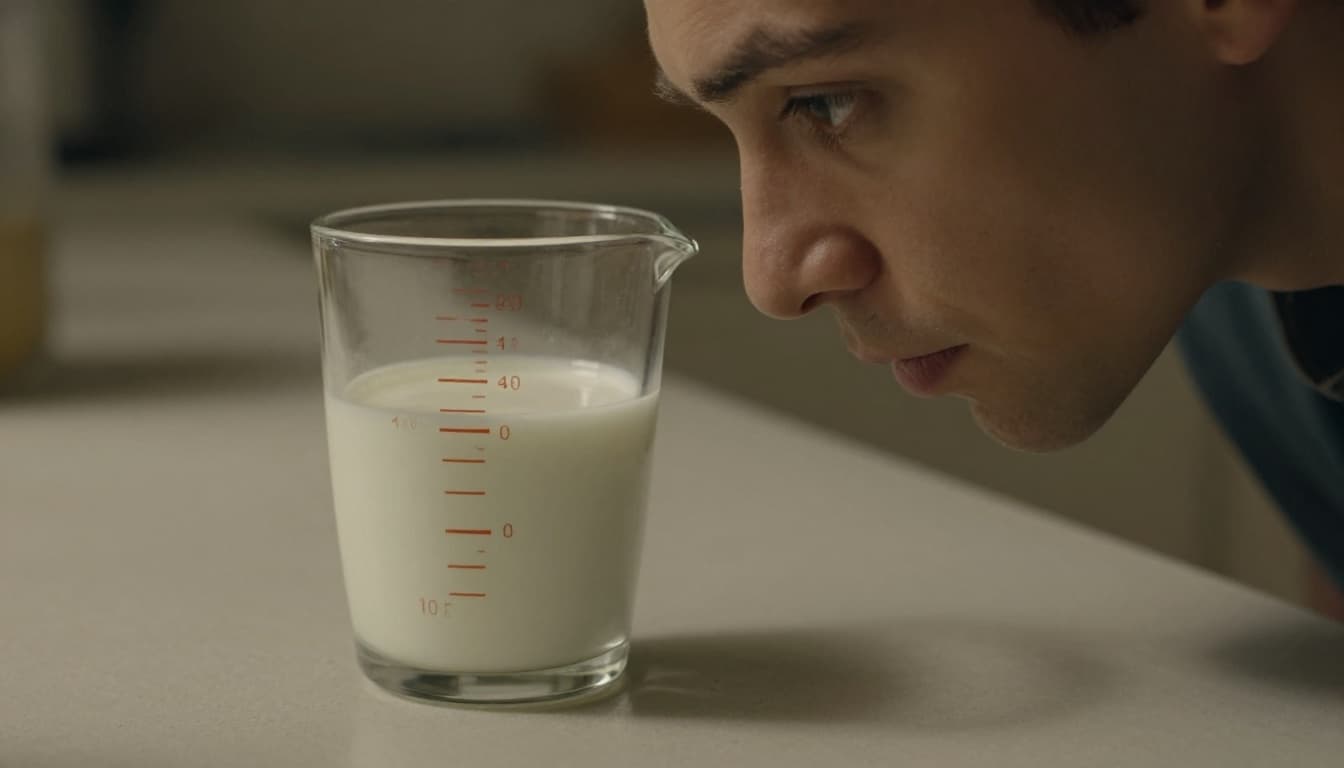
This matters more than it seems. Too much milk can loosen batter. Too little stock can leave a sauce too thick. Accurate liquid measuring keeps textures where the recipe wants them.
Make sticky ingredients easier to measure and pour out
Honey, molasses, maple syrup, and peanut butter love to cling to the cup. To help them slide out, lightly coat the cup or spoon with nonstick spray. If the recipe already uses oil, rub in a drop of that first.
Better yet, weigh sticky ingredients right into the mixing bowl. It’s faster, cleaner, and you don’t lose part of the amount to the sides of the cup.
Avoid the small measuring mistakes that cause big recipe problems
Most recipe failures come from a few repeat errors. Mixing up teaspoons and tablespoons can triple an ingredient. Confusing fluid ounces with ounces by weight throws off both dry and wet items. Measuring over the mixing bowl can also backfire because one spill goes straight into the batter.
Another common miss is forgetting to level dry ingredients. Sifting can trip people up too. The phrase “1 cup sifted flour” means sift first, then measure. “1 cup flour, sifted” means measure first, then sift.
Recipe wording matters more than many home cooks realize
Recipes are like road signs. A comma changes the route. That’s why small wording details matter so much in baking.
If you want a good scan of other common baking measurement mistakes, look for the ones tied to flour, leaveners, and spoon sizes. Those tend to cause the biggest problems fastest.
A quick measuring routine that saves time and reduces mistakes
Use this short routine before you mix:
- Read the recipe all the way through.
- Set out the right cups, spoons, and scale.
- Tare the scale, or choose the right measuring cup.
- Measure over the counter or a plate, not over the bowl.
- Double-check spoon sizes and amounts before adding.
That habit takes less than a minute. It can save a full batch.
Better results often come from small fixes, not fancy recipes. Start with one habit, such as weighing flour or reading liquids at eye level, and you’ll notice the difference quickly.
Once measuring becomes second nature, cooking feels easier and baking feels far less risky. Better tools and better technique lead to more consistent food, every single time.